Marshmallow Fondant +
Heat & Kneading
=
Amazing results
Aside from the amazing taste, the main difference between our Marshmallow Fondant and typical commercial fondant is that ours is a setting fondant, which means that the fondant will stiffen up and hold it’s form when exposed to air much quicker than the commercial alternatives.
This ability to ‘set’ and hold its shape allows our fondant to do things that non-setting fondants can’t, but it also means that it takes a bit more work to prepare for use.
The rest of this booklet will walk you through the steps required to get beautiful results with our fondant. If you’d like even more information, or to see our cake decorating tutorial videos, please visit:
http://fondant.oakleafcakes.com |
Step #1
Ready your cake!

A. It’s hard to fondant a cake that doesn’t exist, so before you do anything else you’ll need to ready yourself a cake!
B. While it is the step that we will discuss least in this quick tutorial, in many ways crumb coating your cake will be the difference between a beautiful fondant job and a complete mess.
C. Try your best to ensure that your crumb-coated cake is straight, smooth, and hard. We recommend putting your cake in the refrigerator to allow the butter in your cake to stiffen up before fondanting –a technique that will ensure very crisp edges in your finished product. |
Step #2
Heat it up, Baby!

A. Use a knife or scissors to open your air-tight bag of marshmallow fondant.
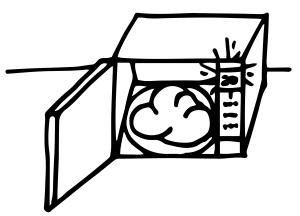
B. Place fondant in microwave and heat fondant on high setting for approx. 20 seconds per lb.
Tips for best results:
Fondant will be very hard and a bit spongy when first taken out of packaging. If under-heated it will retain this undesirable characteristic. It is also possible to over-heat fondant; if this occurs let fondant cool slightly before continuing.
|
Step #3
The need to kneed!

A. Now that your fondant is warm, take it out of the microwave. Prepare a flat and smooth kneading surface by lightly coating it with shortening (like Crisco or similar).
B. Knead fondant until completely smooth.
Tips for best results:
Fondant should form a “tail” as it is pulled apart. If the fondant is stiff or breaks when pulled, it requires either further heating or kneading. If fondant seems dry, try kneading in more shortening. The more the fondant is heated and kneaded the easier it will be to work with.
|
Step #4
Roll with it!

A. Knead your fondant into a ball of appropriate size to cover your cake.
B. Sprinkle your work surface with a generous amount of cornstarch to prevent your fondant from sticking as it is rolled.
C. With a rolling pin, roll your fondant into a circle between 1/8th and 1/4 inch in thickness.
Tips for best results:
Lifting and rotating the fondant occasionally as it is rolled out will further help to prevent sticking to rolling surface. If you encounter an air bubble you can easily pop it with a sharp blade.
|
Step #5
Covering the cake.

A. Once your fondant is rolled to the appropriate size it is important to act quickly to cover the cake before your fondant begins to set. This will prevent cracking and other potential problems.
B. Lift your fondant and drape it over the cake.
C. With your hands, start lightly pressing your fondant against the sides of the cake, being careful to make sure that the fondant near the corners of the cake does not stretch or tear.
|
Step #6
Smooth & Trim.

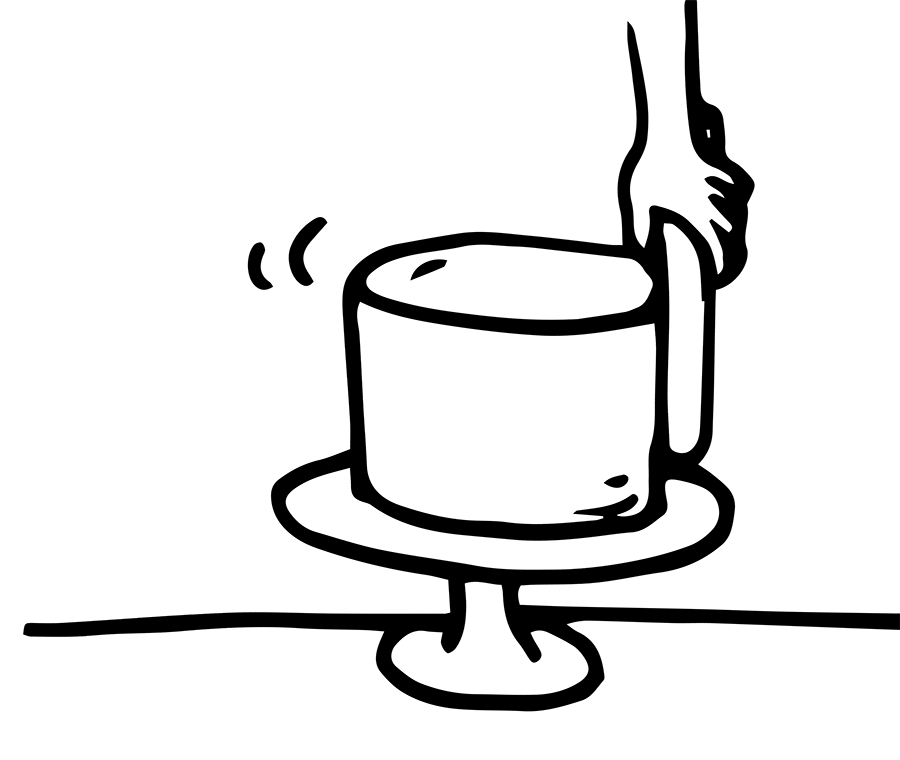
A. Use a fondant smoother to fully adhere fondant to your cake, pressing out any pockets of air between the cake and the fondant as you work from the top of your cake to the sides.
B. Once fondant is adhered to the cake and smoothed, trim off excess fondant along base of cake with a rolling cutter or a knife.
Use your remaining fondant to decorate the rest of your cake to your heart’s content!
|
Storing your fondant.
While our unopened fondant has a shelf life at room temperature of over 1 year, an open package should be used within 14 days of opening. An open package of fondant will not spoil; it will simply dry out and harden as exposed to air.
To store an open package of fondant:
A. Reheat (if necessary) and knead into an airtight ball.
B. Coat fondant in a light layer of shortening.
C. Wrap fondant in several layers of clinging plastic wrap
D. Place in air tight plastic bag.
E. Keep at room temperature for up to 14 days.
F. Repeat heating and kneading instructions as required for every re-use.
|
Handmade Means Handmade
Every single batch of our fondant is made by hand, by an individual, in small scale. This allows us to ensure that every single batch is up to our high standards, as well as employing a hard-working and talented local workforce.
Our insanely dedicated staff of bakers and decorators at Oakleaf Cakes wants to thank you for helping to support a local American business. Oakleaf Cakes is a custom cake shop and cafe in Boston, MA.
If you want more info on the amazingly talented individuals who make our fondant, please check out our about page at:
http://oakleafcakes.com/about


